How to Clean and Store Kitchen Tools for Lasting Performance
You’ve just finished preparing a meal—knives, spatulas, and mixing bowls scattered across your kitchen, some sticky with sauce, others slick with oil. You’re tired, hungry, and tempted to just toss everything in the sink for later. I get it.
But when I let tools sit unwashed or stash them away while still damp, I always regret it. Rust spots, stubborn stains, and that lingering odor remind me why proper care matters.
Knowing how to clean and store kitchen tools isn’t just about aesthetics. It’s about safety, efficiency, and protecting your investment. I’ve seen a favorite wooden spoon crack after being left wet too long, and a chef’s knife corrode from improper drying.
It’s frustrating—and completely avoidable with a few simple habits.
This guide breaks down each step, from rinsing off sticky utensils to storing high-carbon knives and delicate baking gear. Here’s what you’ll get:
- Clear instructions on cleaning different materials
- Tips for preventing bacteria and odor buildup
- Smart storage solutions for every tool
If you want kitchen tools that last—without hassle or guesswork—follow along. I’ll share what works in my own busy kitchen, so you can save time, money, and effort every day.
Gather Supplies and Prepare Your Workspace
Before I even touch a dirty spatula or chef’s knife, I make sure I’ve got the right tools and a clean, organized area to work in. This step is easy to overlook, but it’s the bedrock of efficient cleaning—especially if you want to master how to clean and store kitchen tools like a pro.
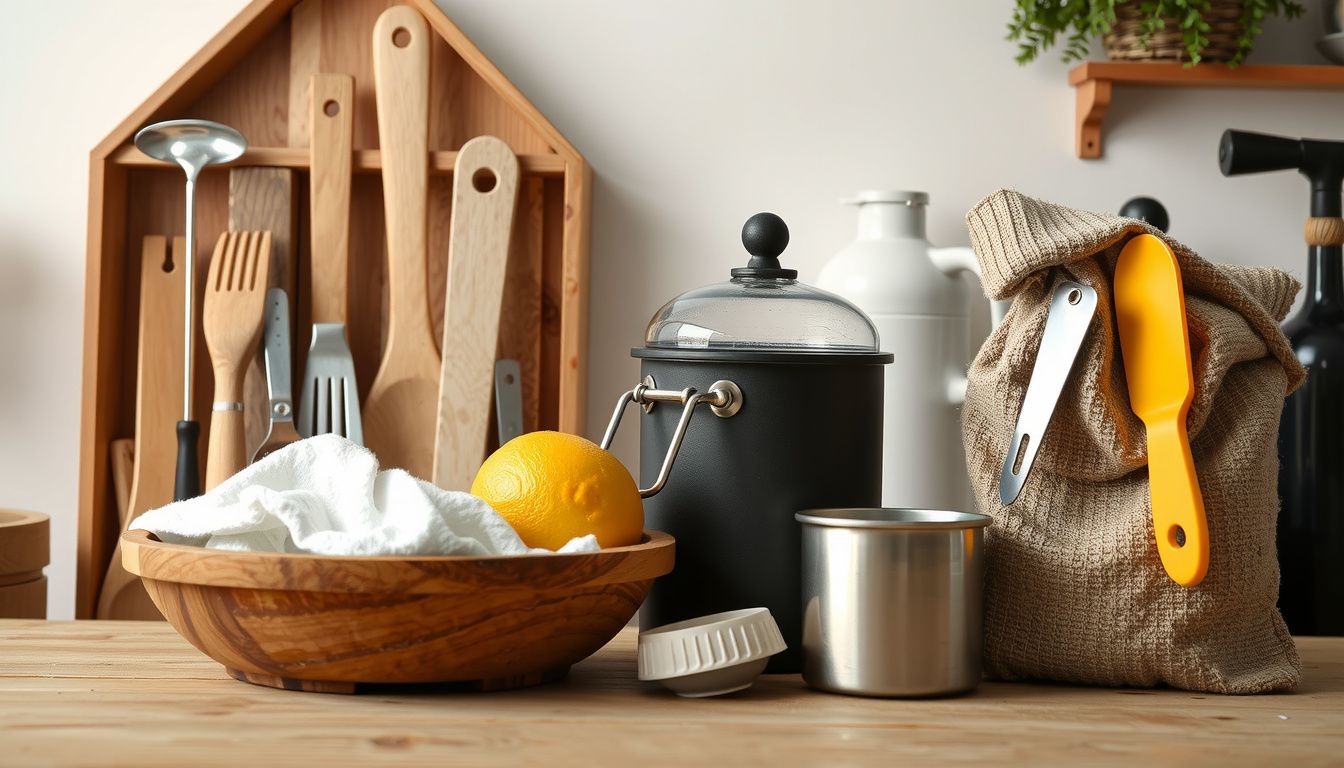
Here’s what I always gather before starting:
- Dish soap (preferably fragrance-free and biodegradable)
- Two types of sponges: one gentle for nonstick or delicate items, one with a scrubby side for tougher grime
- Brushes in different sizes (a bottle brush, a small detail brush for crevices)
- Clean dish towels or microfiber cloths for drying
- Dish rack or mat
- Rubber gloves (protects both hands and sensitive tools)
- White vinegar or baking soda (for stubborn stains and odors)
I clear off a section of my countertop and wipe it down with a disinfectant—because a clean workspace means I’m not introducing new germs to tools I’m trying to sanitize. If possible, I set up next to the sink so I can move tools from dirty to clean to dry in a logical flow.
One trick I picked up: if I’ve just finished a big cooking project, I fill one side of the sink with warm, soapy water and the other with clean water for rinsing. It saves me time and water, and makes sure nothing sits around growing bacteria.
Here’s a real-world example. After hosting a brunch, I found myself with sticky whisks, a stained cutting board, and a mountain of utensils. Laying everything out in zones—dirty, soapy, rinsed, drying—let me work quickly and kept clean tools from accidentally getting contaminated.

Pro tip: Always read labels or manuals before using abrasive cleaners or scrubbers. Some specialized tools (like carbon steel knives or wooden spoons) need gentler treatment to avoid damage.
Finally, I check for any tools that require immediate attention—like knives with acidic residue or wooden items that shouldn’t soak. I set these aside to tackle first, minimizing risk of staining, rust, or warping.
Clean Kitchen Tools Thoroughly and Safely
Now that my space is set and supplies are ready, I focus on cleaning each kitchen tool with the right technique—because the wrong approach can mean residue, lingering germs, or even permanent damage.
I always start with the least dirty items (like measuring spoons or silicone spatulas), moving to the greasiest or most contaminated tools last. This prevents spreading grime and bacteria to cleaner surfaces.
-
For stainless steel and plastic tools:
- Wash with hot, soapy water using a non-abrasive sponge.
- Pay extra attention to seams where food can hide.
- Rinse thoroughly to avoid soap film, which can attract bacteria.
-
For wooden tools:
- Never soak—just scrub with a brush and mild soap.
- Rinse quickly, dry immediately with a towel, and let air-dry upright.
- Once a month, rub with food-grade mineral oil to prevent cracking.
-
For knives:
- Hand-wash individually, blade facing away.
- Dry right away—never leave to air-dry, as water spots and rust can form.
-
For silicone and rubber:
- If greasy, soak briefly in a mix of warm water and white vinegar to cut residue.
- Scrub and rinse as usual.
Here’s what not to do: Don’t toss sharp knives or wooden spoons in the dishwasher. I learned this the hard way—one warped spoon and a dulled chef’s knife later, I now always hand-wash these.
In one real-world scenario, I had a garlic press clogged with sticky residue. Instead of scrubbing endlessly, I soaked it for a minute in hot, soapy water, then used a small brush to clear the holes. It was spotless in seconds.
Pro tip: For tools that touched raw meat or eggs, sanitize with a diluted bleach solution (1 tablespoon bleach to 1 gallon water), then rinse thoroughly. Never mix bleach with ammonia or vinegar—this is dangerous.
Finally, I inspect each tool as I finish. I check for stuck-on food, cracks, or rust. Anything damaged goes in a separate pile for repair or replacement—no sense in storing a tool that won’t get the job done next time.
Dry and Inspect Tools for Optimal Care
Now that I’ve scrubbed every kitchen tool clean, it’s time to focus on drying and inspection—two steps I never skip if I want my investment to last. First, I always reach for a clean, lint-free towel. Air-drying might seem tempting, but I’ve learned that moisture is a silent enemy, especially for wooden handles and carbon steel knives.
I like to lay out each tool on the towel, patting down hard-to-reach spots: inside whisks, between tongs, and the seams of spatulas. It’s not just about water spots—lingering dampness can cause rust, warping, or even mold. For items like mixing bowls or colanders, I’ll prop them up to let air circulate underneath.
If you’re in a rush, a hairdryer set on cool works wonders for intricate gadgets.

Once everything’s dry, I inspect each piece under bright light. I’m looking for chips in blade edges, loose handles, or any signs of cracks or discoloration. Here’s a quick checklist I use:
- Knife blades: Check for nicks, dullness, or rust spots.
- Wooden utensils: Look for splintering, dark stains, or warping.
- Plastic and silicone: Inspect for lingering odors or melt marks.
- Metal tools: Watch for corrosion, especially at joints or seams.
One mistake I see often: skipping the inspection after a big dinner rush. That’s how tiny cracks in spatula heads or bent whisk wires go unnoticed until the next use. I caught a small chip in my favorite paring knife just last week—fixing it with a whetstone was fast, but only because I spotted it early.
Pro tip: If I notice anything off, I set that tool aside for repair or deep cleaning. Staying on top of these details really extends the life of my gear.
Store Kitchen Tools Efficiently to Maximize Longevity
Once every tool is dry and inspected, I turn my attention to storage—a step that’s just as critical as cleaning. Proper storage keeps tools sharp, organized, and safe from accidental damage. I find that choosing the right storage method depends on the tool type and how often I use it.
Here’s how I typically organize my kitchen tools:
- Knives: I always use a magnetic strip or a dedicated knife block. Tossing knives in a drawer dulls the edges and risks injury.
- Wooden spoons and spatulas: These go in an upright container, but I make sure the container has holes or is breathable to prevent trapped moisture.
- Metal and silicone utensils: I group similar items in drawer dividers or utensil trays for quick access.
- Rarely-used gadgets: These go in labeled bins or on higher shelves to keep the everyday workspace uncluttered.
One practical example: I installed a pegboard on my pantry wall. Now, my ladles, whisks, and tongs hang within arm’s reach, and I can spot what’s missing at a glance. It’s been a game changer for both speed and tool preservation.
For specialty tools—like a mandoline or microplane—I keep blade covers on and store them in a shallow drawer. This prevents accidental cuts, and I never have to rummage for the right attachment.
Common mistake: Stacking heavy pans on top of delicate tools. I always separate heavy cast iron from lighter utensils to avoid warping or breaking handles.
Every few months, I review my storage system. If a tool’s hard to find or showing signs of neglect, I tweak my setup. Efficient storage isn’t about perfection—it’s about making sure every tool’s ready for action, every time I cook.
Start Here
Now, you’re equipped to handle how to clean and store kitchen tools with confident precision. Once I adopted this system, my tools lasted longer, and my kitchen was always ready for action. For example, after prepping an elaborate Sunday brunch, I followed these steps and found that every spatula, whisk, and chef’s knife performed like new at dinner time.
Here’s what you should do next:
- Pick one drawer or utensil container and implement the new cleaning and storage routine today.
- Take five minutes after each meal prep to dry, inspect, and neatly store every tool—consistency makes care effortless.
- Set a reminder to check your most-used tools once a week for wear or damage.
Stay proactive. Your tools will reward you with longevity and peak performance. Ready for a spotless, organized kitchen?
Start your new routine right now.